Mermaid Wall Panels Fitting Instructions

Mermaid Panels Installation Video Youtube

How To Install Mermaid Acrylic Wall Boarding In A Shower Youtube

Fitting A Shower Panel

Installation Mermaid
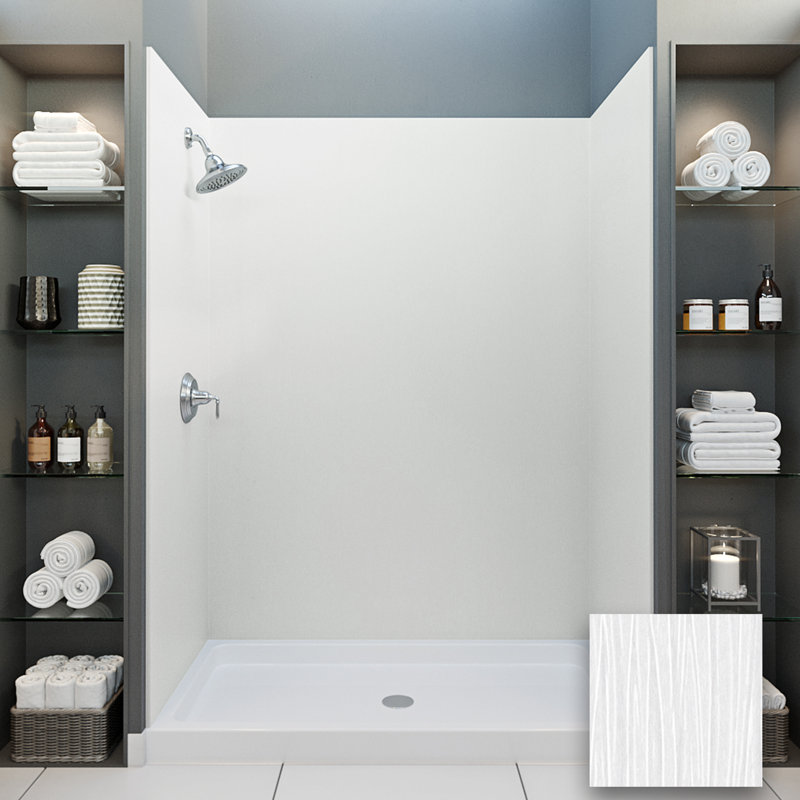
Mermaid Bath And Shower Walls 72 H X 32 D Four Panel Shower Wall Wayfair
Shower Panels A Diy Guide To Fitting And Choosing Decorative Waterproof Bathroom Panel Boards Diy Doctor

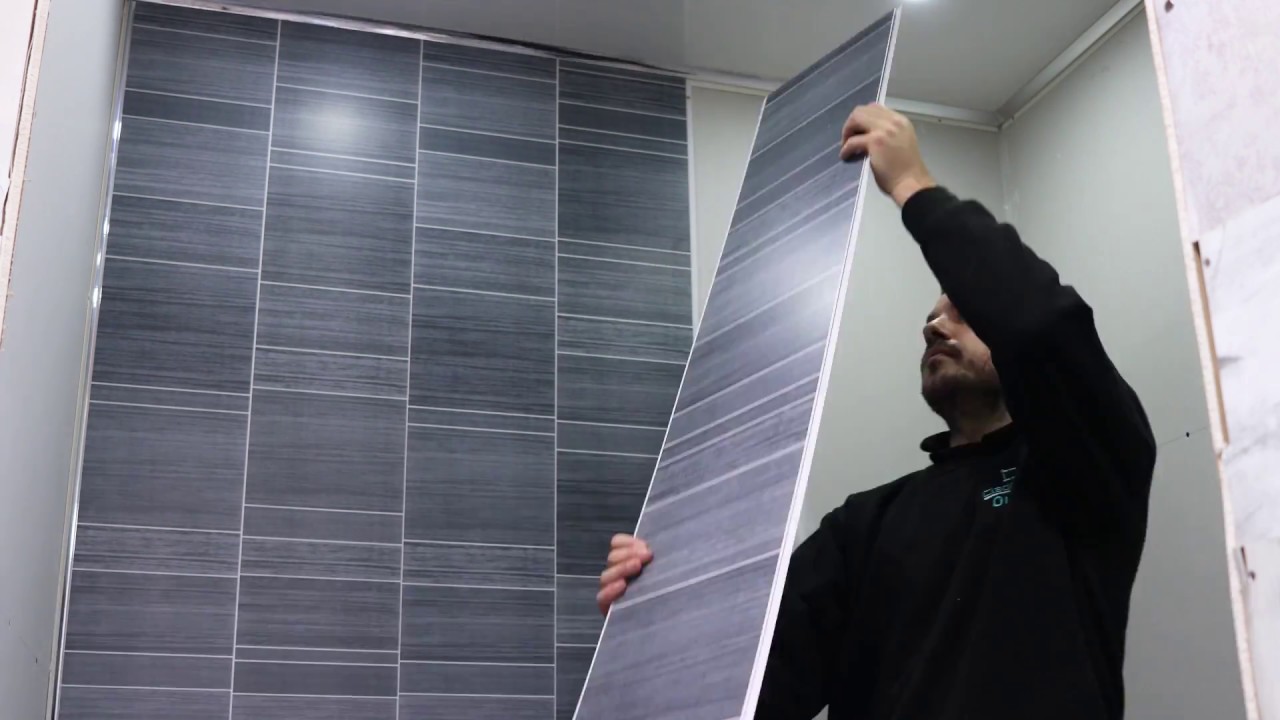
Screw the profile to the wall fig 7.
Mermaid wall panels fitting instructions.

Inspiration From Bathrooms Com Amazing Mermaid Shower Panels Create The Perfect Quick And Easy Shower Shower Panels Laminate Shower Panels Bathroom Showrooms

Mermaid Acrylic Shower Panel Installation Youtube
How To Fit Bathroom Cladding Around A Bath Youtube

Showerwall Installation How To Safely Install Your Panels Youtube
How To Fit Shower Wall Panels In Your Bathroom Victoriaplum Com

Mermaid Black Matt Acrylic Shower Single Shower Panel Wickes Co Uk

Mermaid Roman Stone Natural Shower Panels Bathroom Shower Panels Shower Panels Natural Showers
How To Fit Bathroom Wall Panels

Fitting Shower Panel Boards Youtube

Buy Mermaid Glitter Scales 4 Wall Mural Free Us Shipping At Happywall Com

How To Choose The Perfect Grout Free Shower Or Tub Wall Panels Bathroom Shower Walls Shower Remodel Bathroom Shower Panels
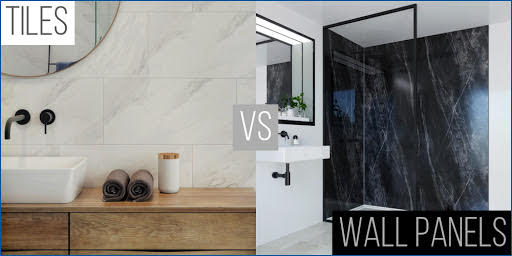
Tiles Or Shower Walls Which Is Best

Buy Mermaid Glitter Scales 3 Wall Mural Free Us Shipping At Happywall Com

How To Install Large Tempered Glass Sheets Around Bathtub Ceramic Tile Advice Forums Glass Shower Wall Glass Shower Panels Shower Wall

Mermaid Standard Laminate Wall Panelling In Various Colours Sizes

Mermaid Scales And Mermaid Tail Wall Decals Pink Turquoise Purple Mermaid Wall Decals Mermaid Wall Decor Mermaid Wall Art

Item Details You Will Receive One Vinyl Decal Decals Are Made From High Quality Oracal 631 Vinyl Matte Nautical Bathrooms Bathroom Decals Bathroom Signs

Mermaid Trade Panels Various Sizes Colours
Https Encrypted Tbn0 Gstatic Com Images Q Tbn 3aand9gcquwzi31rljfqs1jbrs2 Yuicdaoyp Orymtqijrfc Usqp Cau

Buy Mermaid Glitter Scales 2 Wall Mural Free Us Shipping At Happywall Com
Https Warebathrooms Co Uk Data Uploads Mermaid Brochure March 2014 Pdf

Folk N Funky Boho Mermaid Scales Window Curtains 2 Panels Wayfair

Image Result For Mermaid Scale Wall Mermaid Bedroom Creative Decor Floors And More

Buy Teal Summer Mermaid Scales Wall Mural Free Us Shipping At Happywall Com
Source : pinterest.com
